Regarded highly among the top recommendations for high-quality true wireless earbuds, the AirPods Pro uphold their status amidst strong contenders like the Sony WF-1000XM6 and the Bose QuietComfort Ultra 2 (second generation). Apple’s earbuds excel not only in sound quality but also in aspects such as effective noise cancellation and transparent audio. They benefit greatly from a seamless integration into the Apple ecosystem, allowing features like Find My tracking, hearing enhancements, live translation, and heart rate monitoring in the latest iteration.
However, they do come with some limitations. While delivering impressive audio, they may not match the tonal quality found in Sony products or brands like Status Pro X. A notable drawback is the absence of a comprehensive EQ system, preventing users from fine-tuning audio outputs. Moreover, features like DSEE Extreme for enhancing compressed audio files, prominently promoted by Sony for audiophiles, are lacking in the AirPods Pro. Nevertheless, these earbuds are far from inadequate.
Apple provides various tools to enhance and personalize the listening experience. The AirPods Pro even adapt to the unique shape of your ears for a more tailored sound profile. Drawing from my experience with every iteration of AirPods Pro released so far, here are some recommended settings that can significantly enhance your audio experience.
Explore Headphone Accommodations
For those looking for meticulous control over various frequency ranges, the AirPods Pro provide limited options. However, they do offer adjustments that can enhance tonal balance, emphasize vocal clarity, or accentuate higher frequencies. While these adjustments aren’t transformative, they can still be sensed, especially in quieter listening environments with noise cancellation activated. To modify these settings, follow these steps:
- Launch the Settings app, scroll down, and select Accessibility.
- Navigate to Audio & Visual on the Accessibility page.
- Select Headphone Accommodations at the top of the Audio & Visual dashboard.
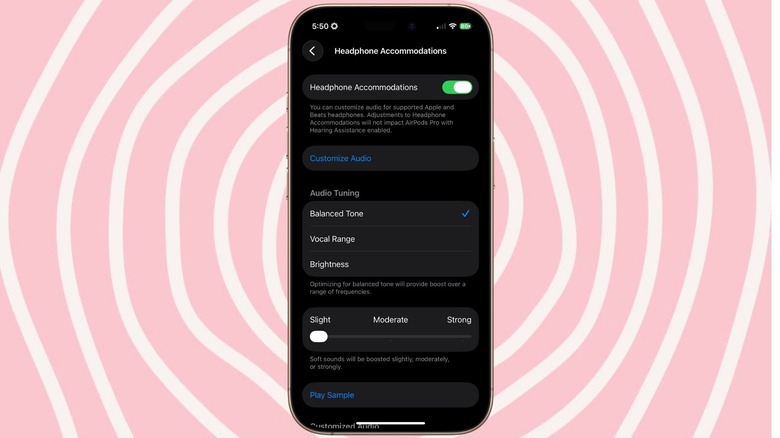
- Toggle on Headphone Accommodations to view three presets under Audio Tuning.
- Choose from Balanced Tone (which slightly boosts certain frequencies), Vocal Range (for clearer vocals), or Brightness (to heighten higher frequencies).
- Adjust the potency of these presets across three levels: slight to strong.
It’s important to note that while headphone accommodations can enhance your listening experience, results will vary based on the type of content. Personally, I find that instrumental tracks benefit from the brightness setting, while I prefer vocal range for Arabic and Persian music. Ultimately, it reflects your personal preferences and how you want each musical genre to resonate in your ears. Notably, this setting can also increase the volume level of your AirPods Pro.
Complete the Seal Test
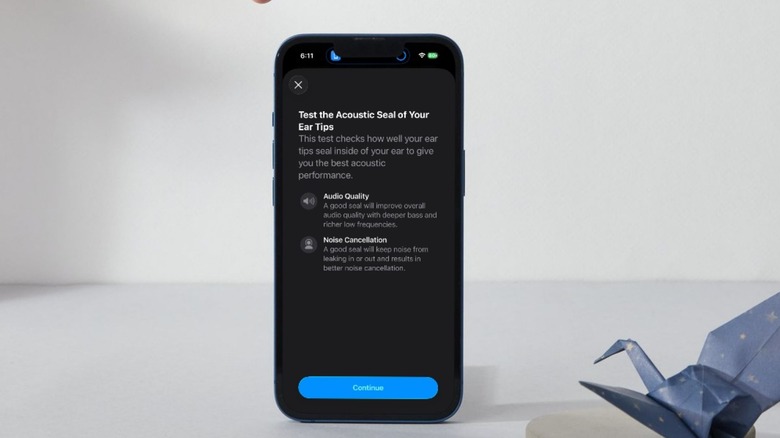
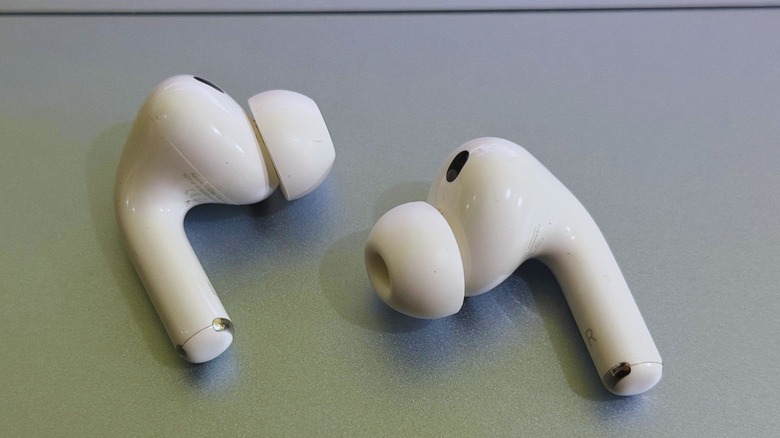
A major aspect of achieving optimal audio quality with earbuds is ensuring a proper sound seal. When external noise infiltrates your ear canal, it can greatly diminish your listening experience. This isn’t merely due to the external sound interfering with the earbuds’ output; rather, the sonic interference within your ear canal can muddle the clarity of your sessions. The solution lies in selecting the right ear tip size. The third-generation AirPods Pro come with ear tips in five sizes; trying each one is essential to find the pair that creates the most secure fit, offering better passive noise isolation.
It’s also crucial to understand that a snug fit doesn’t guarantee a perfect acoustic seal from all angles. As Apple suggests, “the most comfortable tips for you may not provide the tightest seal.” To assist with this, Apple provides a seal test, which can be accessed by following these steps:
- Connect your AirPods Pro to your iPhone, open the Settings app, and select Bluetooth.
- On the Bluetooth dashboard, tap the info icon (the letter “i” in a circle) next to your earbuds’ name.
- Look for the option labeled Test Acoustic Seal on the next page.
- This test will involve playing various tones to assess the quality of the sound seal.
Based on the results from the seal test, you might need to switch to a different ear tip size or simply reposition the earbuds to prevent sound leakage. For a long time, I opted for the M-size ear tips, but after conducting the seal test, I discovered that S-size provided a better fit, enhancing both the listening experience and noise cancellation effectiveness.
Customize Spatial Audio Settings

By default, the AirPods Pro produce sound in stereo, creating a two-channel sound experience. Spatial Audio, however, provides a three-dimensional auditory effect, simulating a more immersive surround sound experience. Although this is a simulated surround effect, it offers a distinctly different experience compared to traditional stereo sound on the AirPods Pro.
Spatial Audio isn’t uniform for all listeners, as it relies on head-related transfer function (HRTF) adjustments to personalize the audio output for the unique shape of each user’s head and ears. Here’s where Personalized Spatial Audio enhances the listening experience with the AirPods Pro. To activate this feature, navigate through your connected iPhone: Settings > Bluetooth > Device name > Info > Personalized Spatial Audio. Upon enabling it, the iPhone’s camera captures your face from the front and side profiles for customization.
Once this feature is enabled, you can choose between two settings: Fixed and Head Tracked. The fixed mode locks the surround sound effect in one direction, while the head-tracked mode adjusts the sound direction based on your head movements, making it an excellent choice for use in dynamic environments.